A better PHP/TYPO3 development environment - Part 2: ddev
A good development environment can increase productivity and decrease frustration. For this you need the right tools. My basic development environment at the moment is an Ubuntu 20.04 desktop installation with Zsh, ddev and PhpStorm. In this series of articles I'll show you how to install and configure these tools. You will need a clean Ubuntu 20.04 desktop environment for this. I am assuming you know how to use command line tools and are at least a little familiar with Ubuntu/Linux.
In the first part of this series I discussed installing and configuring zsh, an efficient command line shell that will make typing command and navigating the command line much quicker and easier. In this second part I will discuss ddev. When you have multiple projects, requiring different versions of PHP, Apache/Nginx, Mysql/MariaDB and different settings, it can be difficult to do it all on a single development environment. Differences in versions and settings between the development and servers can also cause problems. Virtualization using Docker can fix this, but setting up images and maintaining them can be a lot of work. Ddev does this for you and makes it easy.
The first thing you will need to install is Docker and docker-compose. Both are available in apt, so you can install them using:
sudo apt-get install docker.io docker-composeNext you will need to make sure your (non-root) user has access to Docker.
sudo usermod -aG docker $USER
newgrp docker
Test if you Docker works and you can access it by running the hello world Docker image. This is a test image which will only output some text (including "Hello World").
docker run hello-worldNext you'll need to install Homebrew. It's a package manager for MacOS, which is also available for Linux. It is the preferred (and easiest) way to install ddev.
sudo apt-get install build-essential curl file git
/bin/bash -c "$(curl -fsSL raw.githubusercontent.com/Homebrew/install/master/install.sh)"
export PATH=/home/linuxbrew/.linuxbrew/bin:$PATH
rehash
If you're using bash instead of zsh, the last line should be replaced with:
hash -rNow you're ready to install ddev.
brew tap drud/ddev && brew install ddev
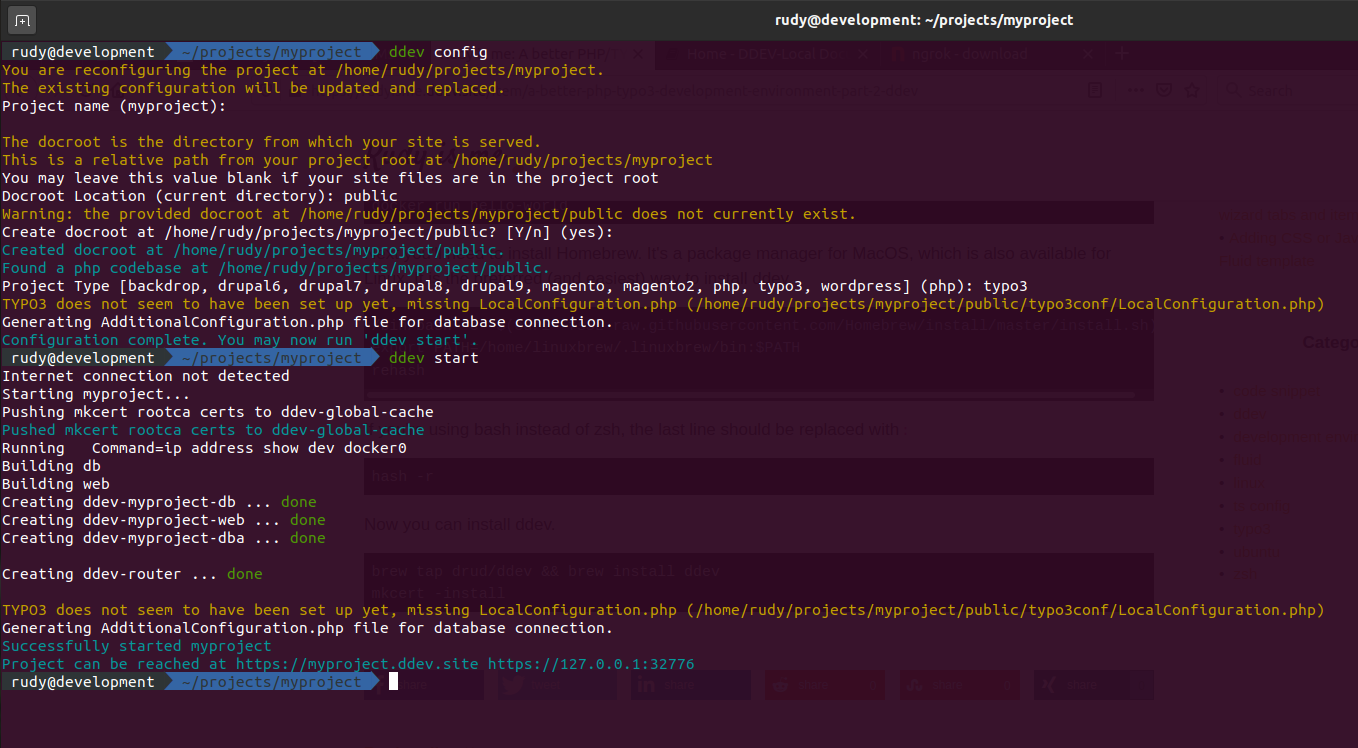
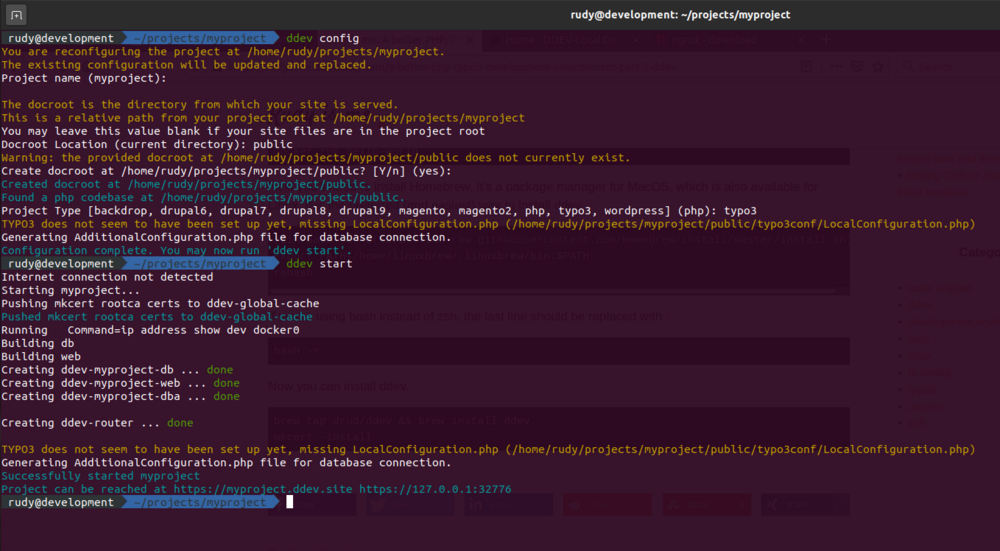
mkcert -installTo create a development environment, just make and enter a directory and execute:
ddev configAfter filling in a project name, docroot location and project type, this will create a configuration file: .ddev/config.yaml. By default it will currently be configured to use PHP 7.2 with an Nginx webserver and MariaDB version 10.2 database.
To change the PHP version, just set the desired value in the php_version variable. Currently the following versions are supported: "5.6", "7.0", "7.1", "7.2", "7.3" or "7.4".
The webserver type can be changed by setting the webserver_type variable to one of the following values: nginx-fpm, apache-fpm or apache-cgi.
For the database server you can either use MariaDB with the variable mariadb_version or MySQL with the variable mysql_version. MariaDB is currently available in versions 5.5, 10.0, 10.1, 10.2, 10.3 and 10.4. MySQL is currently available in versions 5.5, 5.6, 5.7, and 8.0. Only one of these variables should be set.
For other configuration options for ddev, see the ".ddev/config.yaml options" section of the ddev documentation.
Once you've set the options to your preferred values, you can start the ddev environment.
ddev startThe first time it will download the required Docker images. These are cached, so don't have to be downloaded every time you start a project or create a new project with the same settings, unless you've updated ddev. You can then access the project in a browser using the URL http(s)://projectname.ddev.site or ddev can open a browser for you:
ddev launchTo connect to the database, set server, username, password and database name all to "db". The database can also be accessed through phpMyAdmin using the URL http(s)://projectname.ddev.site:8036 and you can use the following command to import or export your database.
ddev import-db -f database.sql.gz
ddev export-db -f database.sql.gz
If you want to use composer with the ddev environment you can just add "ddev" before the composer command. For example:
ddev composer installTo execute any other command you can use:
ddev exec php index.phpTo stop the ddev environment, just execute the following command:
ddev stopTo delete the Docker images for a project, you can use:
ddev delete -OThis will not delete your files or the ddev configuration, but it will delete the database.
More on the ddev commands can be found in the "Using the CLI" section of the ddev documentation.
In the third part of this series of articles I will discus PhpStorm. It should be online in a few weeks.
Edit 2020-06-30: Added installing build-essential, curl, file and git packages before Homebrew